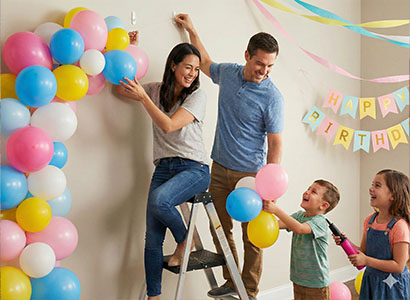
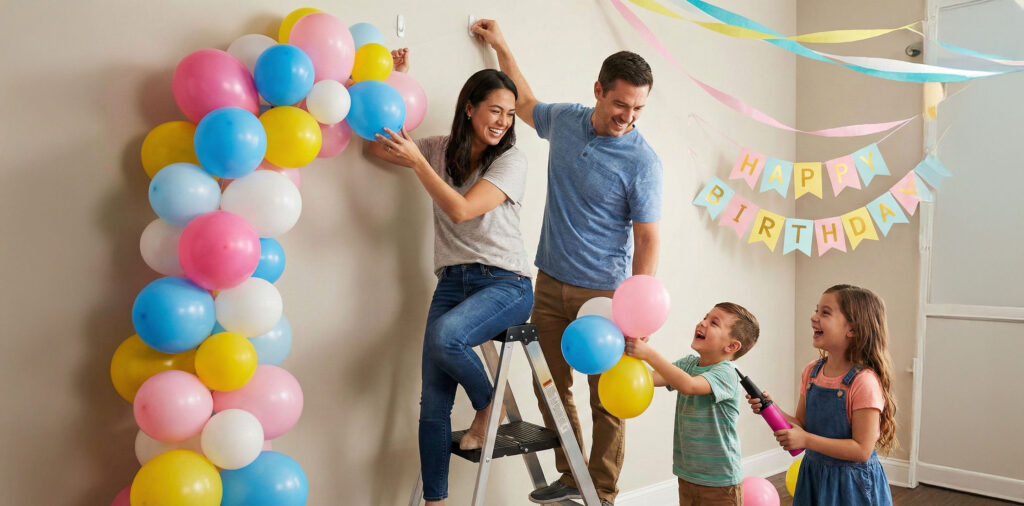
Balloon garlands are one of the easiest ways to create a big visual impact for birthdays, baby showers, weddings, and celebrations at home. The best part? You don’t need professional skills — just the right tools and a bit of planning.
Follow this step-by-step guide to make a beautiful balloon garland that looks professionally styled.
What You Need to Make a Balloon Garland
Before you start, gather these essentials:
Balloon Garland Supplies
- Balloon strip (also called balloon decorating tape)
- Latex balloons in different sizes
- Small: 5”
- Medium: 10–12”
- Large: 18”
- Balloon pump (manual or electric – highly recommended!)
- Glue dots (for filling gaps)
- Command hooks, clear tape, or string (for hanging)
Optional but helpful:
- Scissors
- Fishing line or ribbon (extra support)
Step 1: Choose Your Colour Pattern
Colour planning makes a huge difference to the final look.
Popular Colour Pattern Ideas
- Two colours: Clean and modern (e.g. white + gold)
- Three colours: Balanced and full (e.g. pink, blush, white)
- Organic style: One main colour + 1–2 accent colours
Pro Tip for Colour Patterning
- Use 70% main colour
- 20% secondary colour
- 10% accent colour
This keeps the garland from looking too busy.
Step 2: Inflate Balloons in Different Sizes
This is the secret to a full, organic balloon garland.
- Inflate balloons to slightly different sizes, even within the same balloon size
- Don’t overinflate — softer balloons are easier to shape
- Mix small, medium, and large balloons for depth
Tip: Varying balloon sizes makes your garland look more natural and professional.
Step 3: Attach Balloons to the Balloon Strip
Now the fun part!
- Lay the balloon strip flat
- Push tied balloon knots through the holes
- Alternate colours and sizes as you go
- Keep stepping back to check balance and spacing
You don’t need to follow a strict order — organic looks are slightly imperfect.
Step 4: Fill Gaps with Smaller Balloons
Once the main garland is built:
- Inflate small 5” balloons
- Use glue dots to attach them where gaps appear
- Focus on areas that look flat or uneven
This step instantly upgrades the garland from “DIY” to “wow”.
Step 5: Shape and Install the Garland
Before hanging:
- Gently bend and curve the garland
- Rotate balloons so colours are evenly visible
To hang:
- Use Command hooks for walls
- Use string or fishing line for arches or backdrops
- Secure both ends first, then adjust the middle
Always install close to the event time for best balloon quality.
How Long Does a Balloon Garland Last?
- Indoors: 2–5 days (sometimes longer)
- Outdoors: 1 day (avoid heat, sun, and wind)
Latex balloons last longer in cool, indoor environments.
Common Balloon Garland Mistakes to Avoid
❌ Using only one balloon size
❌ Overinflating balloons
❌ No colour plan
❌ Hanging too early
❌ Skipping small balloons for gap filling
Make Balloon Garlands Easy with Balloons4You 🎉
At Balloons4You, you’ll find everything you need to create stunning balloon garlands at home:
- 🎈 Latex balloons in multiple sizes and colours
- 🧵 Balloon strips and glue dots
- 🎨 Matching colour themes for parties
- 🎉 Party décor, cake toppers, and fun extras
- 👶 Kids’ party favourites and themed balloons
Whether you’re decorating for a birthday, baby shower, or special event, our balloon supplies make it simple to create a professional-looking garland — no experience needed.
👉 Explore balloon garland supplies at balloons4you.co.nz and turn your party into something unforgettable ✨
